The DAW
What is a DAW?
DAW stands for Digital Audio Workstation. It is the center of your music production. While you can mix and record with hardware, we will solely be focusing on using a DAW for our production.
There are many different DAWs. While different DAWs may be slightly better for a specific genre or use case, overall you can create a song in any of them. They all do essentially the same thing. I highly recommend you stick with one DAW until you really understand it. The skills you learn in your first DAW will transfer to any other one.
As one of the goals of this course is to be accessible to anyone with a computer, the DAW we will be using is REAPER. It works runs on Windows, Mac, and Linux. It is the DAW I started with and highly recommend to everyone.
While Cockos (the developer behind REAPER) offers an unlimited free trial, if you do stick with production I recommend buying a license (only $60, one of the most reasonably priced DAWs) to support the developers.
In this lesson we will download REAPER and setup up our folders so we can stay organized.
Downloading REAPER
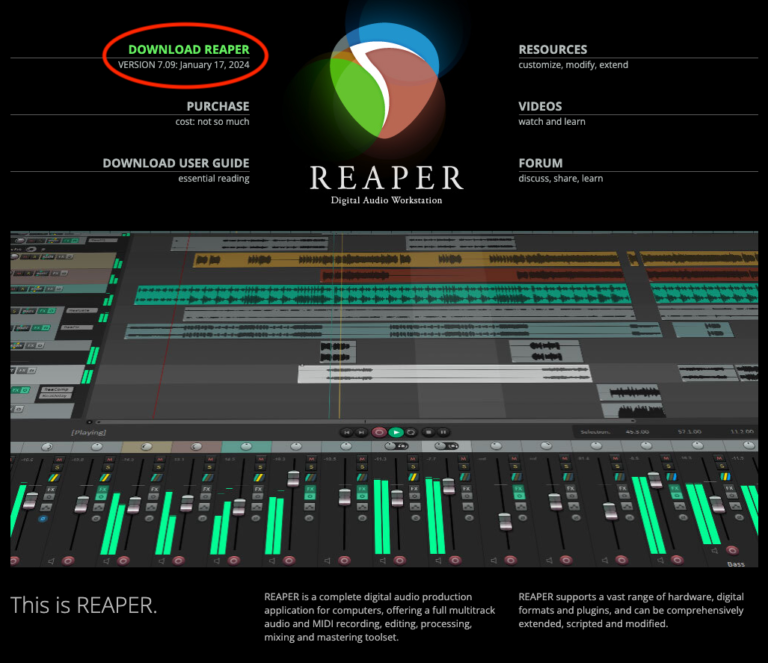
At this point we should go ahead and download REAPER.
1. Go to www.reaper.fm to get started
2. Navigate to “Download REAPER” in the top menu bar or go straight to www.reaper.fm/download.php
3. Click the green “Download” button next to your operating system.
Note: for Mac users pay attention to whether you are on Apple Silicone (M series) or an Intel based Mac. If you are running an M series chip, select the first (top) option.
4. Install REAPER.
5. When you use the free Evaluation License of REAPER, you will get a pop-up when you start the program. You cannot click out of it for 5 seconds. It asks if you would like buy a copy of the software or if you are still evaluating. All you have to do is wait the five seconds, then you can exit out of it or select “Still Evaluating”. The Evaluation License does not expire.
You are now running your first DAW!
Project Settings
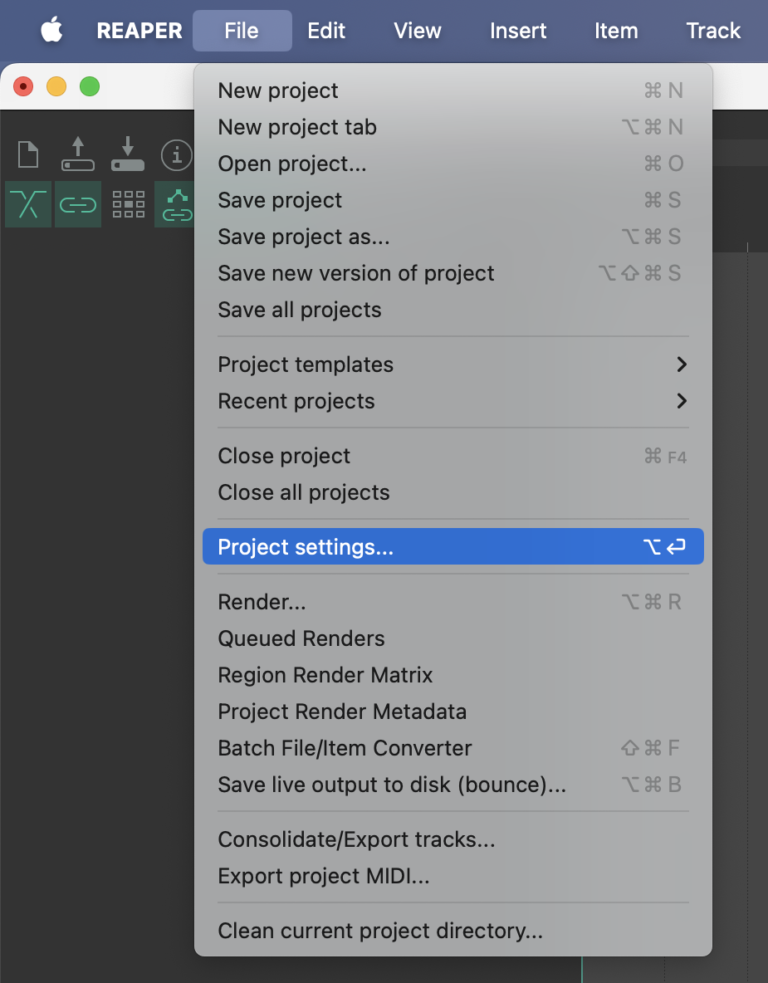
Now that you have REAPER open, we should go in and adjust the Project Settings.
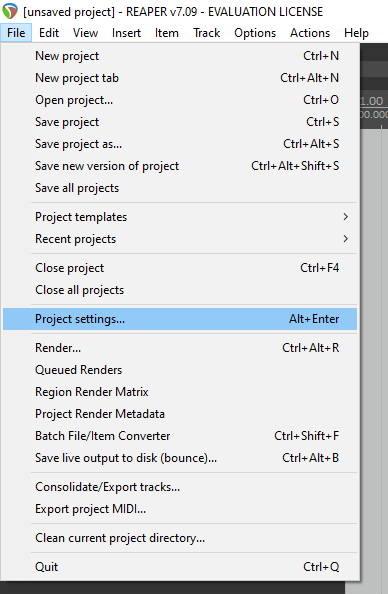
If you are on Windows:
– Option 1 (recommended): Alt + Enter
– Option 2: In the menu bar at the top select File > Project settings…
Under Project Settings > Media
1. Make sure Media is typed into the first box. It may already be filled out.
2. Where it says “On import of media to project:” select “Copy media to project path” from the dropdown menu.
3. Click “Save as default project settings“


